.png)
How to update "Contact Types" in pdwise
This guide provides step-by-step instructions on how to update the "Contact Type" field on pdwise. By following these steps, users can easily customise and add options/fields to contact types, making it easier to categorise and manage your contacts effectively.
Step 1: Log in to your pdwise account
Step 2: Click "Settings".
Step 3: Click "Custom Fields".

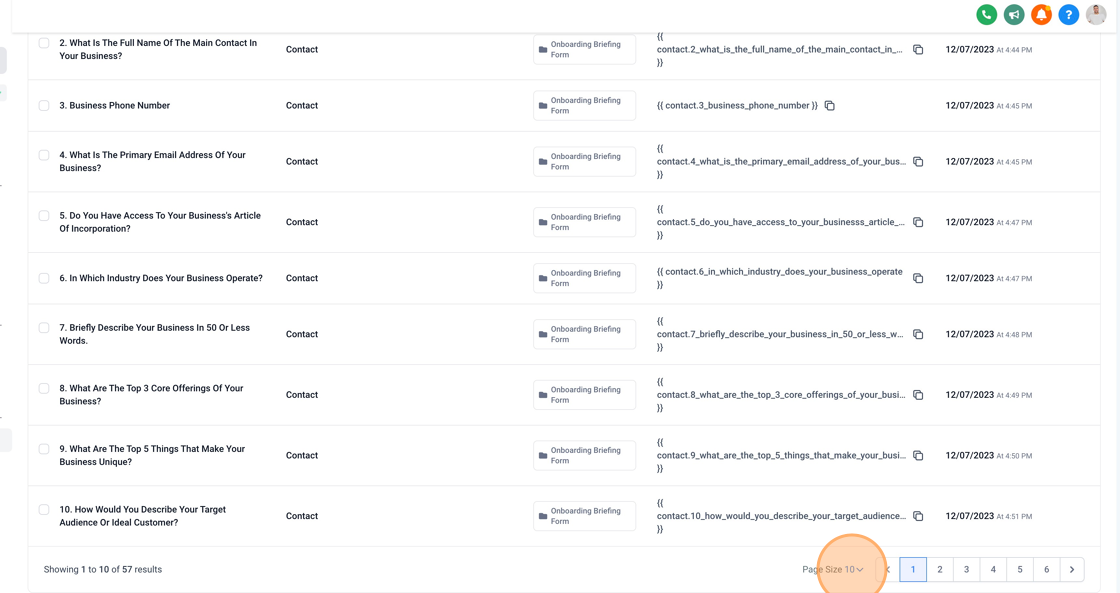
Step 4: Expand the page size at the bottom from "10" to "200" so you can see all the editable fields on one page.
Step 5: Scroll down and click the box next to "Contact Type".

Step 6: Scroll back up to the top of the page and click "Bulk Actions" + "Edit".

Step 7: Once on this screen you can add additional options by clicking "Add an option".

Step 8: Click the "Enter option" field and type in the additional field you would like to add for example if your a manufacturing business you might want to add "Wholesalers", "Retailers" and "Consumers" as your "Contact Type" fields.

Step 9: Click "Save" before exiting this interface.

Step 10: Click "Go Back".

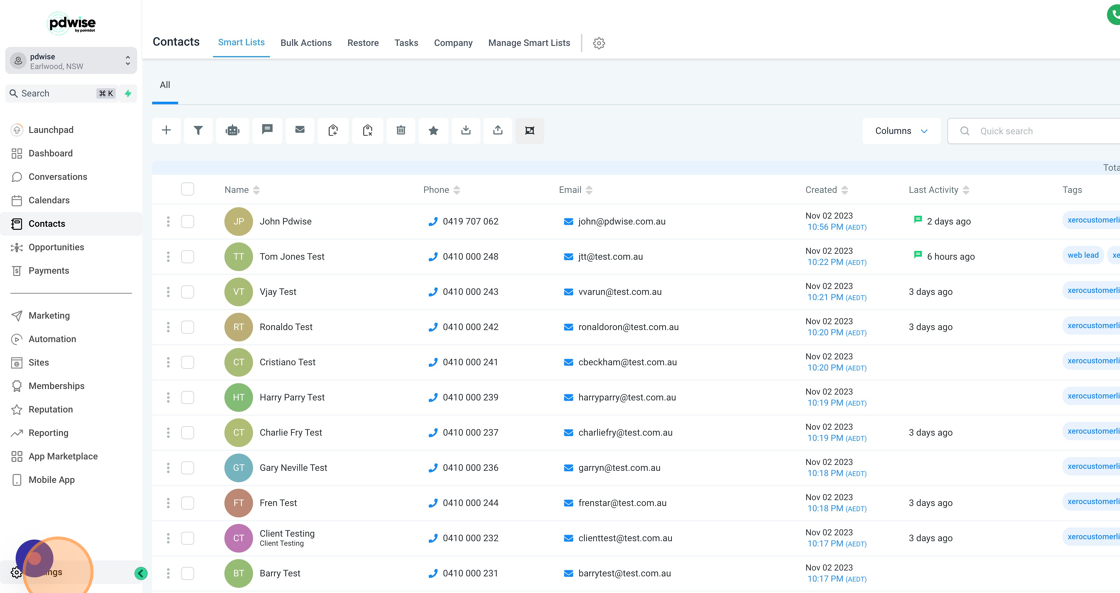
Step 11: Click back into "Contacts" and go into any of your contacts.

Step 12: When scrolling down to "Contact Type" you will notice your fields have now been updated.

Step 13: You can now select the appropriate field that relates to "Contact Type". For example if the contact in your CRM is a "Wholesaler" now you can select this option for them.
