.png)
Create & customise a new email template in pdwise
This guide provides step-by-step instructions on how to create and customise marketing templates in the pdwise CRM platform. It covers topics such as uploading images, organising folders, replacing images in templates, and linking graphics to specific actions. By following this guide, users can effectively design and personalise their marketing materials for future use.
Step 1: Log in to your pdwise CRM.

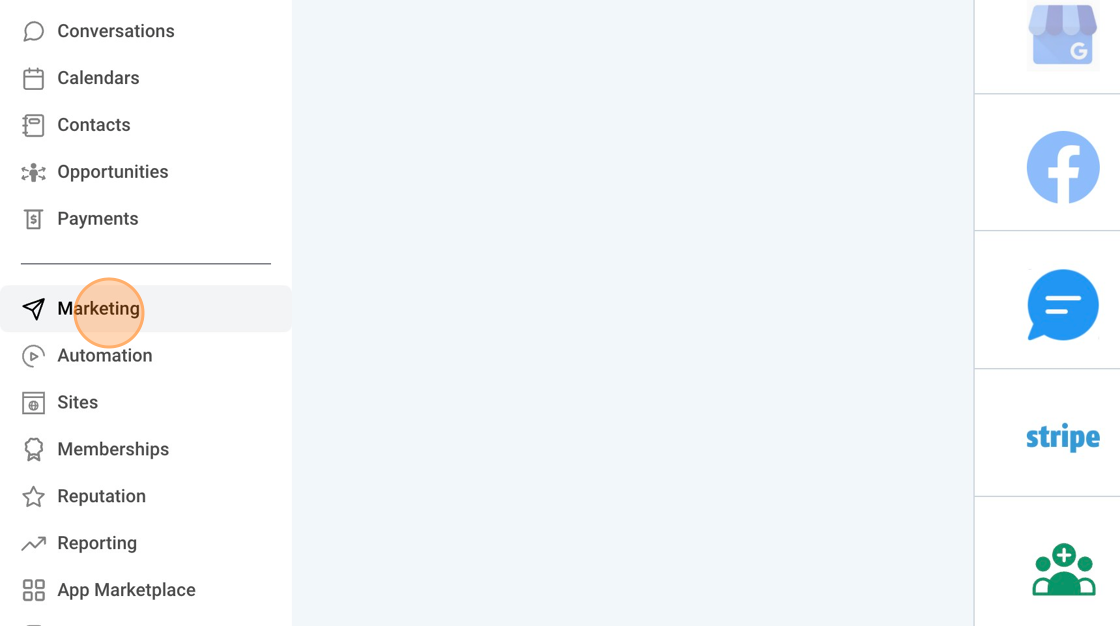
Step 2: Click "Marketing" in the control panel on left-hand side of the screen.
Step 3: First navigate to 'Emails' in the top bar and click "Templates".

Step 4: In Templates select 'TEMPLATES'.

Step 5: You have 2 options here:
You can edit the 'General Template' or
You can duplicate the 'General Template' & then 'Edit it' (recommended)

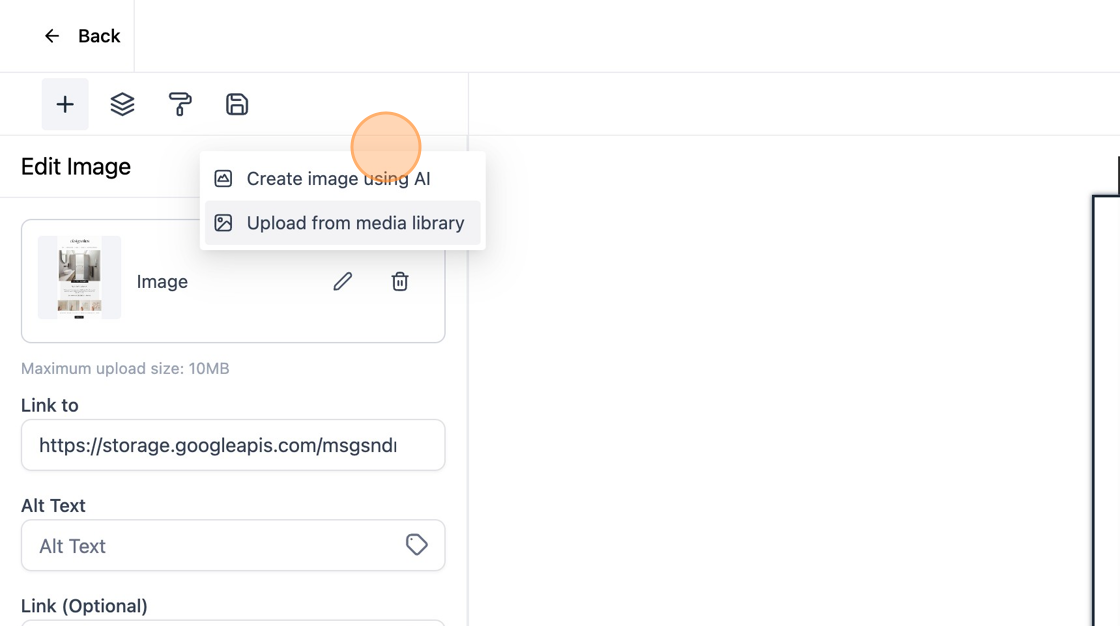
Step 6: Click on the image in the email you want to replace and this menu will appear.

Step 7: Click "Upload from media library".
Step 8: Click "Create Folder" for every new email you want to send that way you can upload your designs into the folder and can store them all in the CRM for future use.

Step 9: Type your Folder Name. In this case I used the name 'Opera Tile' but you can be more specific.
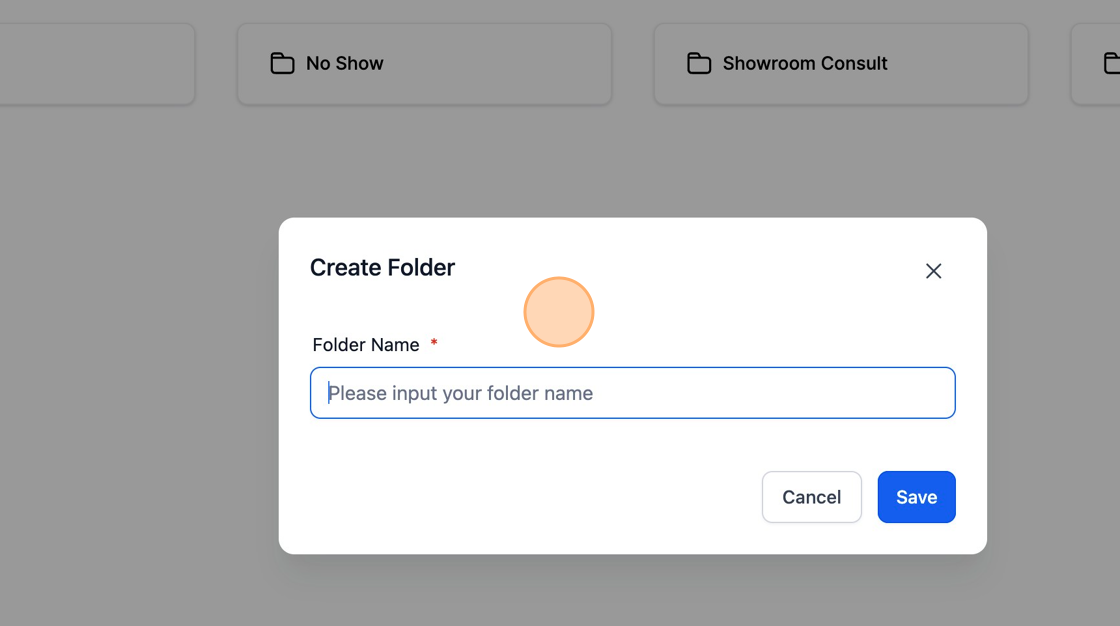
Step 10: Click "Save".

Step 11: Double-click open the new folder you created name "Opera Tiles".

Step 12: Drag + Drop your designed image files into this new folder as I did. Now you can begin to select the image you want to replace within the email.

Step 14: Example 1: I want to swap out the 2nd image in the email 'General Template' so I followed the above steps and selected the graphic designed by Jacque labelled '2.jpg'.
REPEAT THIS STEP UNTIL ALL GRAPHICS ARE LOADED INTO THE EMAIL.

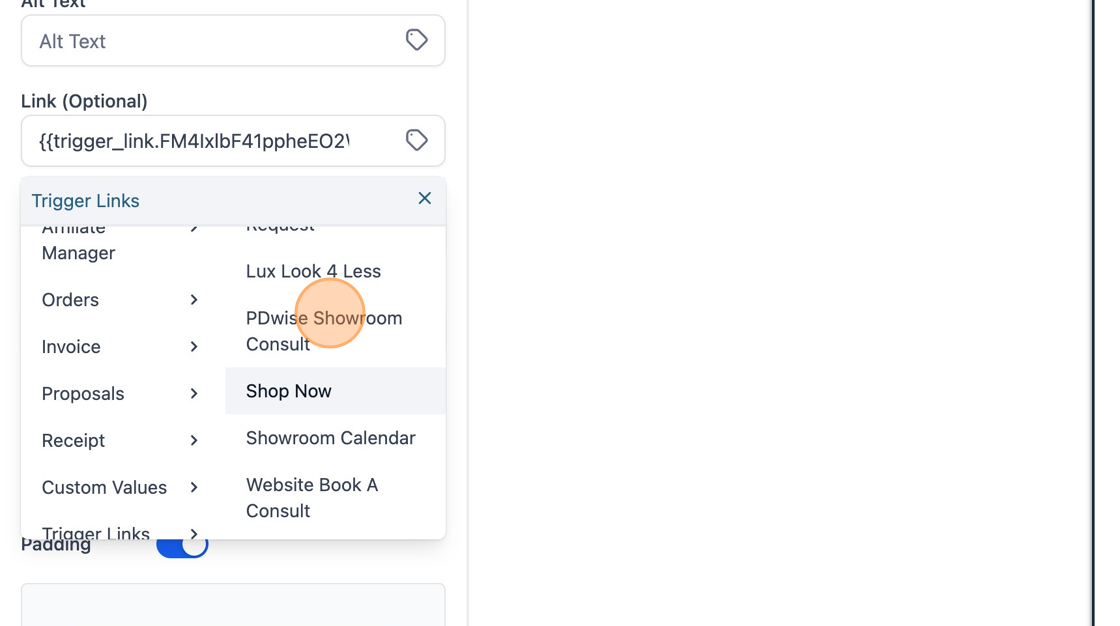
Step 15: Once you have completed the upload of all of your images into the 'General Template' it's time to move on to the task of changing the 'Link' on each section of the email. For this step click on the little tag icon next to 'Link (Optional)'.

Step 16: Scroll all the way down in the drop down menu & Click "Trigger Links".

Step 17: Select the Trigger link which you want to link the image to. By doing this, when someone receives a Design Tiles email, if they click on any part of the email they'll be redirected to wherever you have linked that section of the email to. In this case I linked all graphics to 'Shop Now'.
REPEAT THIS PROCESS UNTIL ALL GRAPHICS ARE LINKED